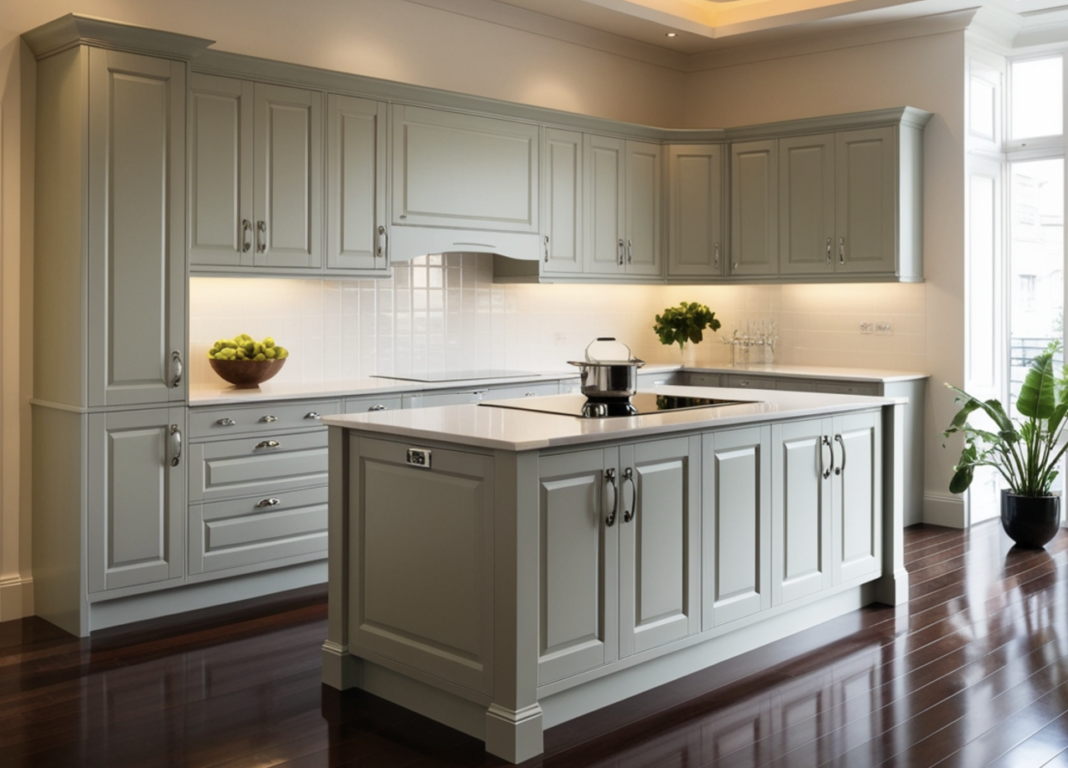
Are you tired of looking at old, uninspiring kitchen cabinets but not quite ready to commit to a full renovation? You’re definitely not alone. A simple coat of paint can revitalize your kitchen, infusing it with new energy without costing a fortune.
Learning how to paint kitchen cabinets might seem daunting at first, but with the right approach, it’s a rewarding DIY project that can dramatically change your space for a fraction of the cost of replacement.
Whether your cabinets are dark and dreary or simply showing their age, a well-executed paint job can give them a modern, professional-looking finish that rivals custom cabinetry.
From classic white to bold navy or sophisticated gray, the color possibilities are endless. Best of all, this transformation typically costs just a few hundred dollars in supplies, compare that to the thousands you’d spend on new cabinets!
In this comprehensive guide, we’ll walk you through every step of painting kitchen cabinets, from proper preparation to the final protective coat.
With our detailed instructions and pro tips, you’ll have the confidence to tackle this game-changing home improvement project like a seasoned expert.
Prep Work: Setting the Stage for a Professional Finish
The secret to successfully learning how to paint kitchen cabinets lies largely in the preparation phase, this is where DIY warriors often separate themselves from the amateurs. Think of prep work as laying the foundation for your kitchen’s transformation; rush through it, and you might compromise the entire project.
Start by creating a detailed map of your cabinet layout and labeling each piece, doors, drawers, and hardware with numbered pieces of painter’s tape.
This simple step will save you hours of frustration during reassembly. Remove all hardware carefully, storing screws and hinges in labeled plastic bags. Your countertops and floors are next; protect them thoroughly with drop cloths secured by painter’s tape.
Now comes the crucial cleaning stage. Kitchen cabinets accumulate years of cooking residue, grease, and grime all enemies of paint adhesion. Use a degreasing cleaner and work methodically across every surface.
Once clean and dry, lightly sand all surfaces with medium-grit sandpaper, paying special attention to glossy areas and any rough spots. Wipe away all dust with tack cloths, ensuring you’re working with pristine surfaces ready for primer.
Remember, these preparatory steps might feel time-consuming, but they’re absolutely essential for achieving that smooth, professional finish you’re dreaming of.
Types of Paint for Kitchen Cabinets
Paint Selection: Your Key to Stunning, Long-Lasting Cabinets
Painting your kitchen cabinets is one of the most impactful ways to refresh your space, but the key to achieving a professional, durable finish lies in selecting the right paint.
Kitchen cabinets endure daily challenges, cooking heat, moisture, and constant handling, so your paint choice must stand up to these demands while delivering the look you want.
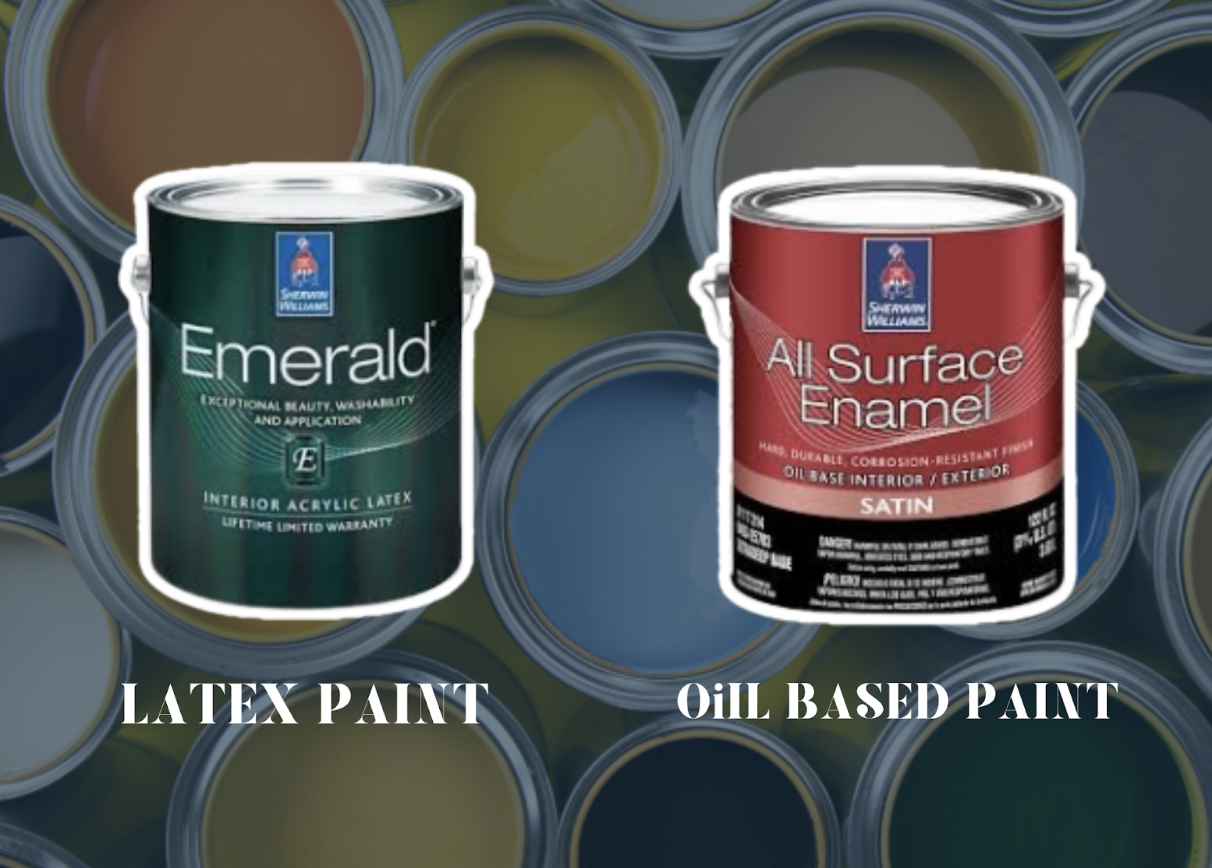
The two most popular options for cabinets are water-based latex and oil-based paints. Many DIYers and professionals favor water-based alkyd paints, which combine the durability of oil-based options with easier cleanup and low fumes.
When paired with satin or semi-gloss finishes, they deliver the perfect blend of beauty and practicality. These finishes are easier to clean than matte options and hide smudges better than high-gloss, making them perfect for busy kitchens.

- Latex Paint: Water-soluble and low-fume, latex paint is easy to work with and cleans up with soap and water. It dries quickly and is available in large sizes, making it a practical choice for cabinet projects.
- Oil-Based Paint: Known for its hard, smooth finish, oil-based paint remains a great option for high-traffic areas. However, it requires paint thinner for cleanup, emits strong odors, and is often limited to smaller sizes due to environmental regulations.
Whichever paint type you choose, never skip the primer. A bonding primer ensures strong adhesion, prevents tannin bleed, and helps hide wood grain, creating the smooth foundation necessary for that coveted factory-finish look.
Application: Mastering the Perfect Paint Stroke
Now comes the moment of truth, transforming those prepped cabinets into stunning focal points of your kitchen. Whether you’re wielding a high-quality brush or operating a paint sprayer, the key to professional-looking results lies in your technique and patience.
Start with your cabinet boxes, working in small sections and maintaining a wet edge to prevent lap marks. If using a brush, apply paint in long, smooth strokes following the wood grain.
For doors and drawer fronts, paint the back sides first, allowing them to dry completely before flipping to tackle the fronts. This prevents any sticky situations or unwanted touch-ups.
Remember the golden rule: multiple thin coats always trump one thick layer. Each coat should be whisper-thin, with proper drying time between applications.
Fight the urge to rush, those extra minutes between coats will reward you with a smoother, more durable finish that looks like it came straight from a professional workshop.
Conclusion
Painting your kitchen cabinets is an affordable and effective way to refresh your space with lasting results.
Understanding how to paint kitchen cabinets involves more than just choosing a color, it’s about selecting the right paint, proper preparation, and using the right techniques for a durable finish.
Opt for paints specifically designed for cabinetry, like water-based alkyd or oil-based options, and always apply a high-quality bonding primer for better adhesion.
With careful planning and the right products, your cabinets will not only look stunning but will also withstand the daily wear and tear of a busy kitchen.


