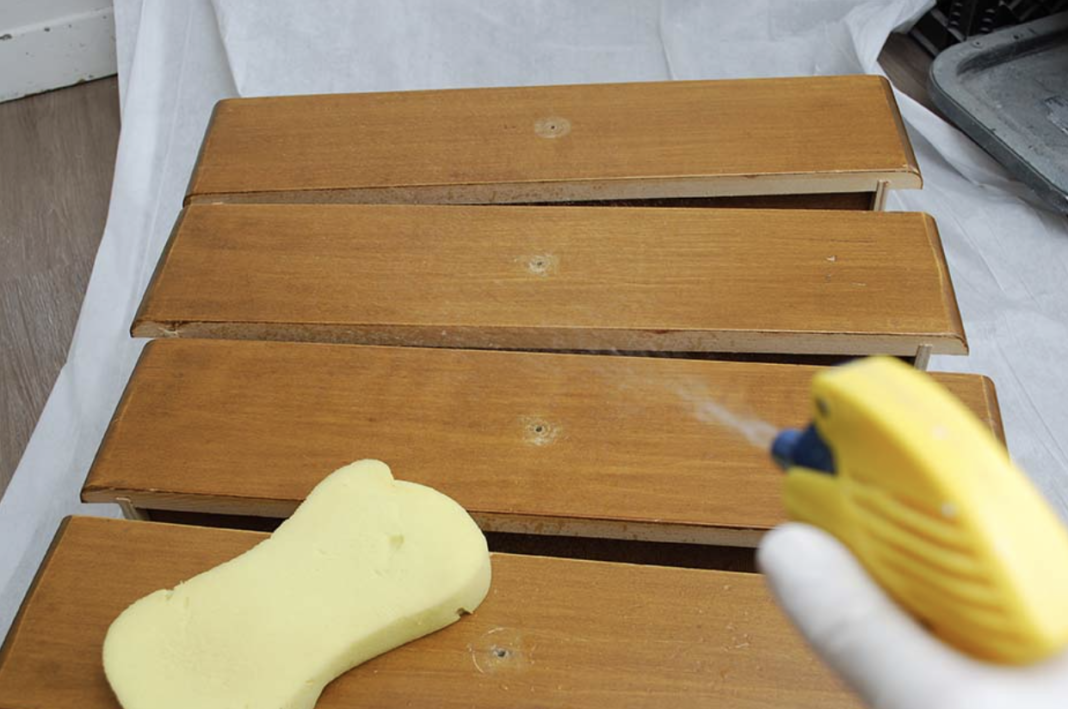
Discovering that perfect vintage dresser or mid-century modern coffee table at a thrift store can feel like striking gold, especially when you consider the environmental and financial benefits of buying secondhand.
But beneath that beautiful patina and bargain price tag, many thrifted pieces harbor years of dust, debris, and sometimes unwanted surprises.
Don’t let these concerns stop you from transforming someone else’s castoffs into your home’s newest treasures.
Learning how to clean thrifted furniture is a valuable skill that can help you confidently build an eco-friendly, budget-conscious home filled with unique character.
Whether you’re eyeing a weathered wooden bookshelf or a plush vintage armchair, proper cleaning techniques can breathe new life into secondhand finds while ensuring they’re safe and hygienic for your living space.
In this guide, we’ll walk through proven methods to tackle everything from surface grime to deep-seated odors.
Initial Assessment: Getting to Know Your Thrifted Find
Before reaching for your cleaning supplies, take a moment to carefully examine your thrifted treasure.
Look closely at every surface, joint, and crevice to identify any damage, stubborn stains, or lingering odors that need special attention. Is that dining chair solid wood, or does it have a veneer finish? Does your new-to-you sofa have synthetic or natural upholstery? These details matter because different materials require specific cleaning approaches to avoid damage.
A thorough initial assessment not only guides your cleaning strategy but also helps you spot any structural issues that might need addressing before the piece finds its place in your home.
Essential Supplies: Building Your Thrifted Furniture Cleaning Kit
Success in refreshing your secondhand finds starts with having the right tools at your fingertips. Think of it as assembling your restoration arsenal, from gentle cleaning solutions to specialized treatments for different materials.
You’ll want to gather basics like mild soap, clean water, and soft cloths, plus material-specific products for wood, fabric, or metal surfaces. Having everything ready before you start ensures a smooth cleaning process and helps avoid any last-minute supply runs.
Breaking Down Your Essential Supplies:
Mild Soap/Detergent:
Gentle yet effective for basic cleaning without damaging delicate finishes or materials – perfect for initial surface cleaning on most furniture types.
Water & Soft Cloths:
Clean water paired with microfiber cloths or soft cotton rags provides safe, scratch-free cleaning while controlling moisture exposure to prevent damage.
Scrubbing Brushes:
Soft-bristled brushes help tackle stubborn dirt in textured surfaces and crevices while being gentle enough to prevent scratching or wear.
Upholstery Cleaner:
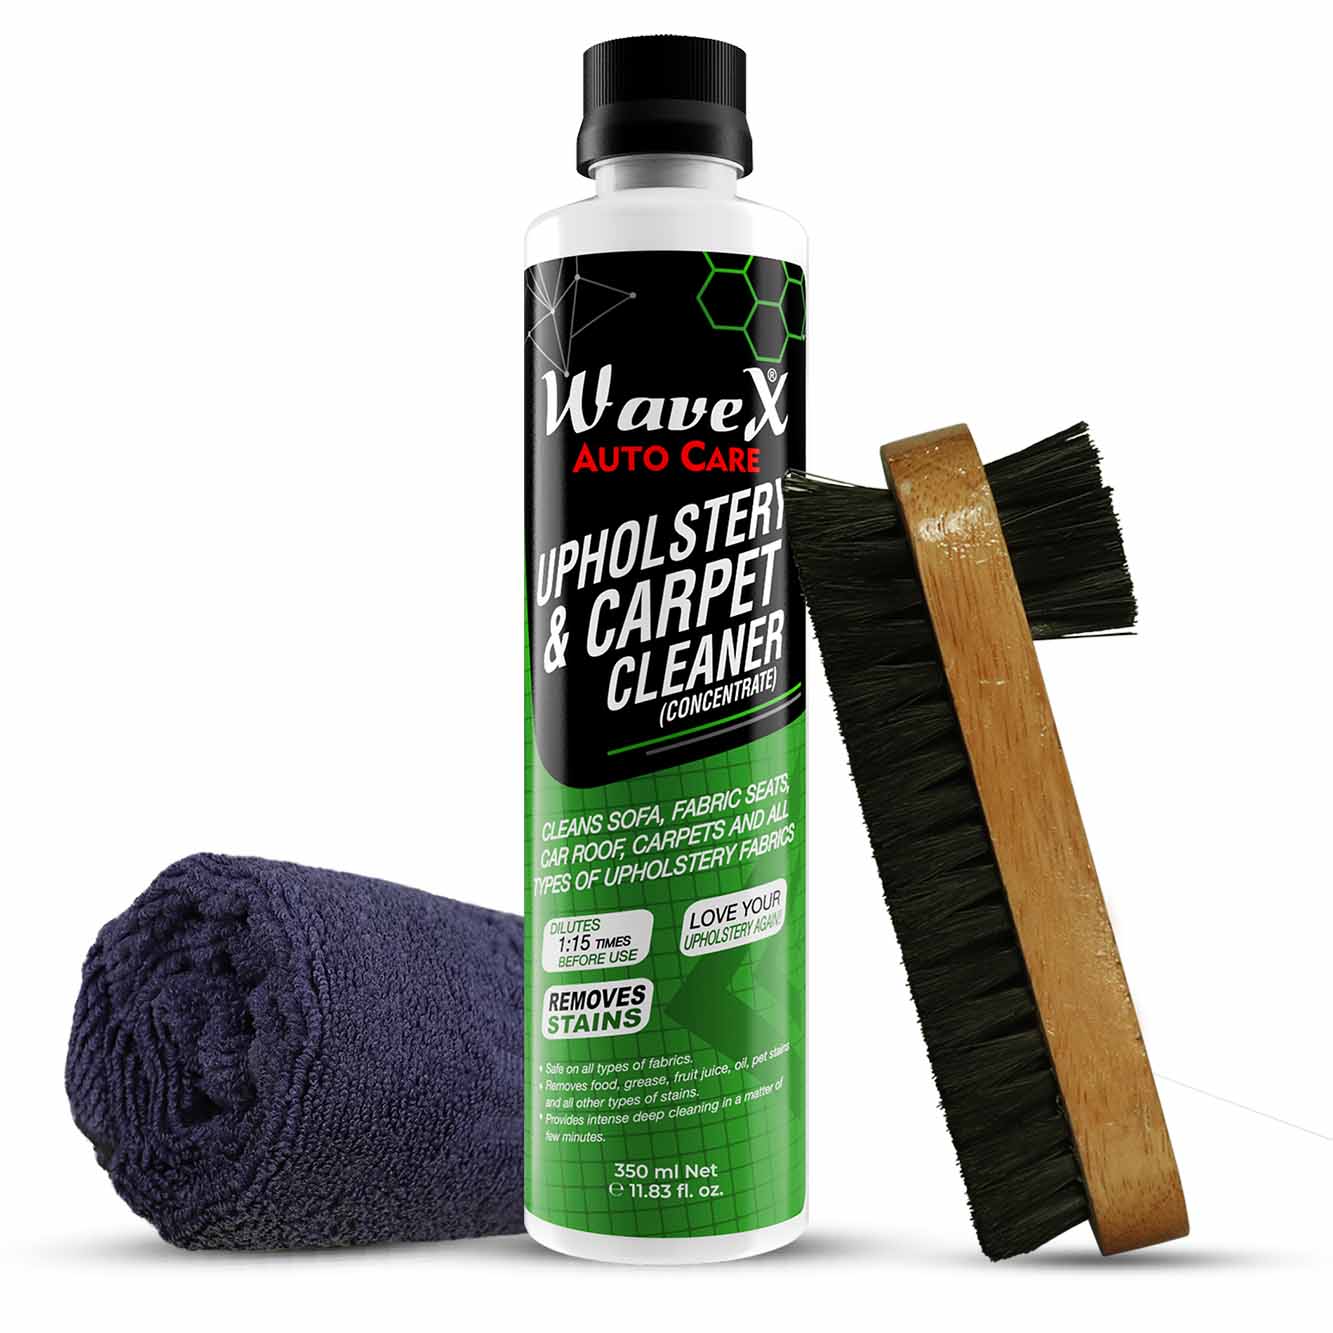
Specifically formulated to deep clean fabric surfaces while protecting fibers and preventing water damage or discoloration.
Wood Polish/Conditioner:
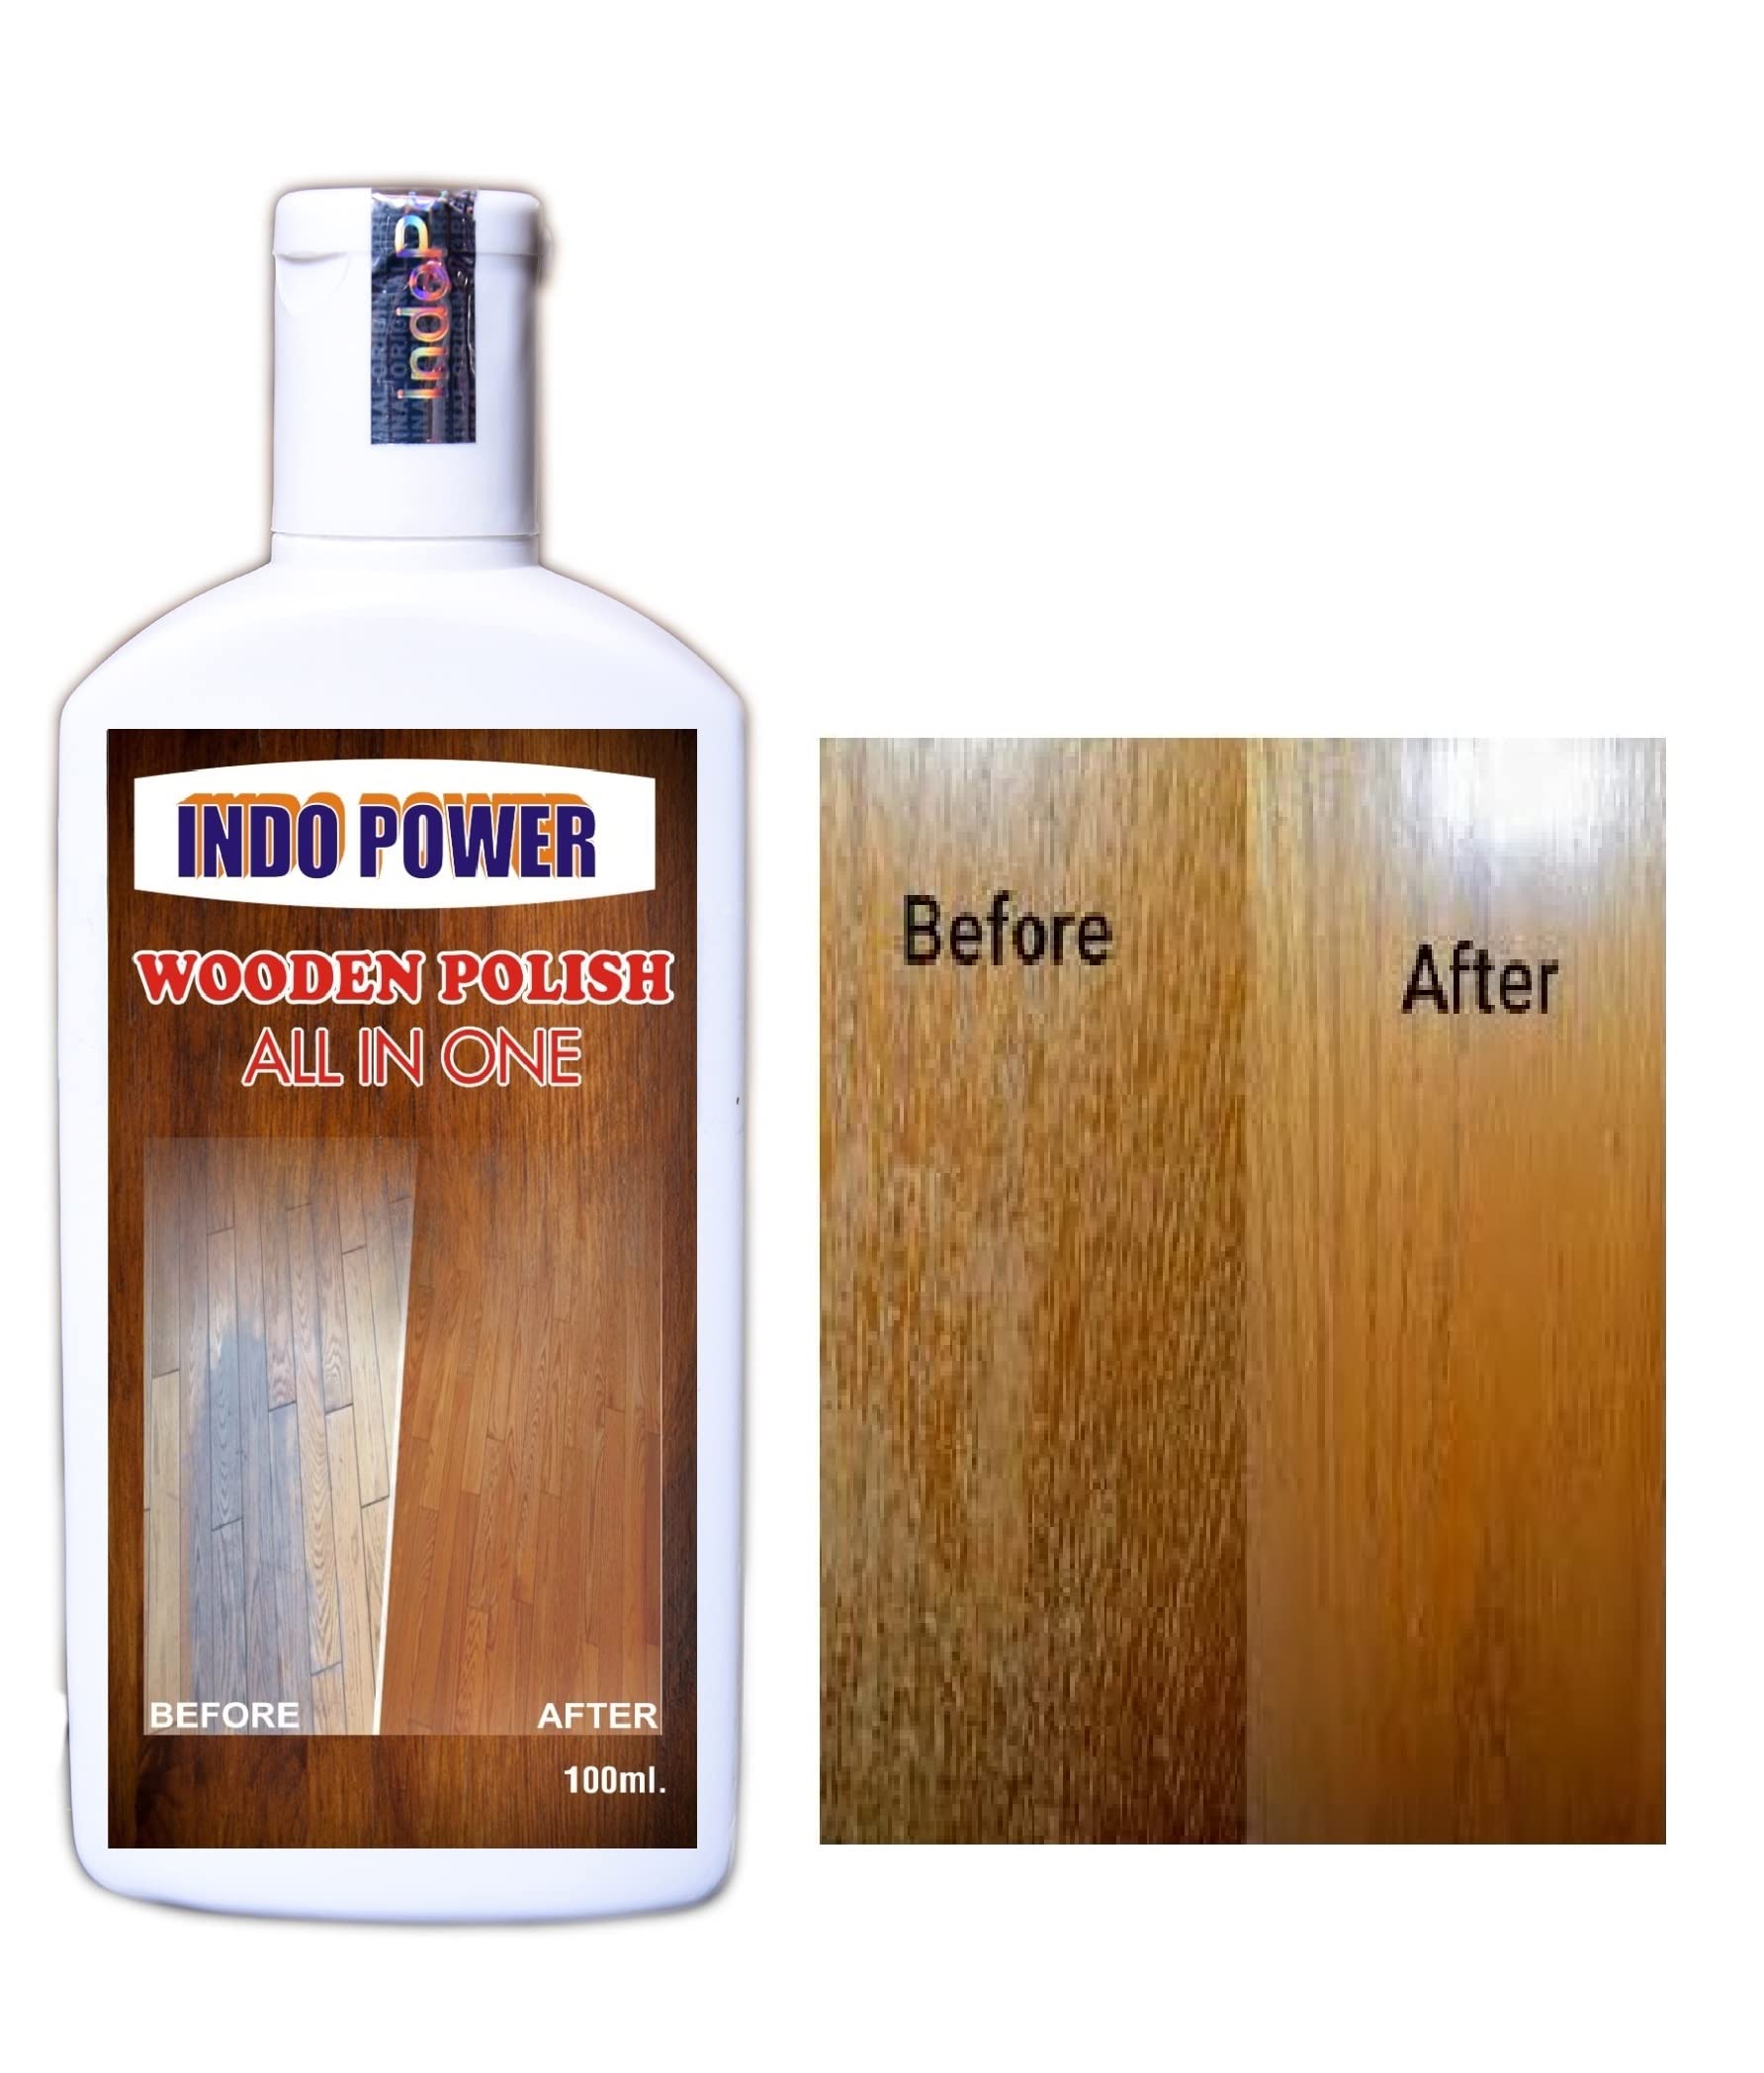
Nourishes and protects wooden surfaces after cleaning, restoring luster and helping prevent future damage from drying or cracking.
Disinfectant Spray:
Eliminates harmful bacteria and odor-causing microbes, ensuring your thrifted piece is hygienic and fresh for your home.
Transforming Your Thrifted Treasure: A Step-by-Step Guide
Now comes the exciting part bringing your secondhand piece back to life through careful cleaning. Think of this process as peeling back layers of time to reveal the furniture’s true beauty. Each step builds upon the last, gradually transforming your find from thrift store discovery to cherished home addition. By following these methodical steps, you’ll ensure no spot goes untouched and every surface gets the attention it deserves.
Let’s Break Down Each Step:
Initial Dust & Debris Removal
Starting with a thorough removal of surface dirt sets the foundation for deeper cleaning. Begin by taking your piece outside or to a well-ventilated area. Use a vacuum with appropriate attachments to reach every nook and cranny the upholstery tool for fabric surfaces, and the brush attachment for wooden or metal pieces.
Pay special attention to crevices, seams, and corners where dust tends to accumulate. For intricate carvings or detailed work, a soft brush can help dislodge stubborn dust particles.
This step is crucial as it prevents you from grinding dirt deeper into surfaces during later cleaning stages.For wooden furniture, use a microfiber cloth to trap dust rather than just moving it around. Work from top to bottom, ensuring dust falls onto uncleaned areas.
Don’t forget to check the underside of tables, chairs, and inside drawers, these often-overlooked areas can harbor significant dust buildup. For upholstered pieces, vacuum in multiple directions to lift embedded dirt from the fabric fibers.
The goal here isn’t just surface cleaning; it’s preparing the piece for deeper cleaning by removing as much loose debris as possible.
Tackling Tough Spots and Stains
Spot cleaning requires patience and a gentle touch to avoid damaging your furniture’s materials. Start by identifying the type of stain you’re dealing with – is it water-based, oil-based, or an unknown substance? For each spot, create a small test patch in an inconspicuous area to ensure your cleaning solution won’t cause discoloration or damage.
For fabric pieces, blot (never rub!) stains with a clean, white cloth dampened with your chosen cleaning solution. Work from the outside of the stain toward the center to prevent spreading. Allow each application to sit briefly before blotting dry.
For wooden furniture, address water rings or minor stains with a mixture of equal parts white vinegar and olive oil, applying gently with a soft cloth. Metal pieces might require specialized cleaners for specific types of tarnish or rust.
Some stains may require multiple treatments. Between applications, allow the area to dry completely to assess your progress. Keep in mind that some vintage stains may be permanent, adding to the piece’s character rather than detracting from it.
Deep Cleaning: Restoring Beauty
Deep cleaning is where your furniture’s transformation really begins to shine. For wooden pieces, mix a gentle solution of mild soap and warm water. Using a well-wrung cloth (excess water is wood’s enemy), work in small sections, immediately following with a dry cloth to prevent water damage. Pay attention to the wood’s grain direction, cleaning along rather than across it.
Once the surface is clean, apply an appropriate wood polish or conditioner to nourish the wood and protect it from drying out. This step not only beautifies but also helps prevent future damage. For ornate details or carved areas, use a soft brush to ensure the polish reaches all surfaces.
Metal furniture requires a different approach. Start with a suitable metal cleaner matched to your piece’s material (brass, iron, etc.). Apply with a soft cloth, working in sections and paying special attention to any rusted or tarnished areas. For stubborn rust, you might need a rust converter followed by a protective coating to prevent future oxidation.
Sanitizing for Safety
The final step is crucial for ensuring your thrifted piece is safe for your home. Choose a disinfectant appropriate for your furniture’s material, fabric sanitizer for upholstery, or a wood-safe disinfectant for wooden pieces. Apply evenly but avoid oversaturating, as excess moisture can damage many materials.
Work systematically across all surfaces, paying extra attention to high-touch areas like arms, seats, and handles. Allow proper drying time according to the product’s instructions, rushing this step can trap moisture and lead to mold or mildew. For fabric pieces, consider using a UV sanitizer or steam cleaner for an extra level of disinfection.
Remember to ventilate your space well during this process. Once complete, allow the piece to air out completely before bringing it into your living space. This final step not only ensures cleanliness but gives you peace of mind about introducing your thrifted treasure into your home.
Long-Term Care: Keeping Your Thrifted Treasures Beautiful
Your newly cleaned thrifted piece isn’t just a one-time restoration project, it’s an investment worth protecting.
Think of maintenance as showing gratitude to these pieces that have already lived such interesting lives.
Simple daily habits can make a world of difference: a quick dust with a microfiber cloth prevents buildup, while strategically placed coasters shield surfaces from water rings and heat damage.
Position your furniture thoughtfully, avoiding direct sunlight that can fade fabrics and damage wood finishes over time.
For wooden pieces, consider applying a protective wax or sealant every few months think of it as giving your furniture a protective shield against daily wear and tear.
Upholstered items benefit from regular vacuuming and prompt attention to spills. Remember, these pieces have already proven their durability by surviving decades with proper care, they’ll continue to bring character and charm to your home for years to come.
Conclusion:
Learning how to clean thrifted furniture is more than just a practical skill, it’s your gateway to sustainable, budget-friendly home decorating with a personal touch.
From the initial assessment of your vintage finds to the final protective touches, each step in the cleaning process helps transform forgotten pieces into cherished additions to your home.
Remember, patience and attention to detail are your best allies in this rewarding process.Whether you’re tackling your first thrifted chair or adding to your collection of restored treasures, the techniques and tips we’ve explored will help you approach each piece with confidence.
The satisfaction of breathing new life into pre-loved furniture goes beyond the money saved, it’s about preserving history, reducing waste, and creating a home filled with unique character.
So next time you spot a promising piece at your local thrift store, you’ll know exactly how to transform it from dusty diamond-in-the-rough to stunning showpiece.
With proper care and maintenance, your restored finds will continue telling their stories while writing new chapters in your home.


